How to replace the internal fuse on a Sega Mega Cd Model 2?
Sega mega CD 2 Fuse replacement
Sega Mega cd 2 repair
Sega Mega cd 2 internal Fuse replacement
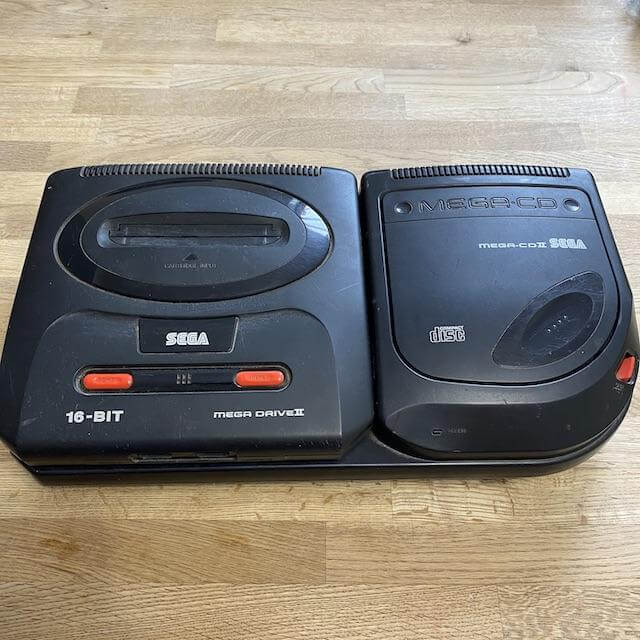
The Sega Mega Cd Model 2 is a top loading cd add on which works in conjunction with the MegaDrive. It is a lot more reliable that the front loading mega Cd model 1 and when things go wrong it is cheaper to repair.
There are a few things that can go wrong with the unit
The first thing we will look at is the Sega CD Fuse,
So you find a model 2 on Ebay or other buying site it is untested and low and behold it doesn't power on.
There are a couple of things to check, the issue could be the fuse, a dirty connection slot,
Tools Needed to change the fuse
philips screwdriver
multi meter
Snips
Soldering iron and solder

So firstly to open up the console you need to take out the 6 screws that are highlighted in the picture above, If the console has not been opened before you will notice a crack sound when the first movement happens before the screw smoothly turns. If it turns smoothly from the off then the screws have been taken out before. Once the screws are out the plastic casing will just lift off the top of the unit
**Make sure there is no disc in the drive when taking off and that the console is the right way up before removing. This is because the laser assembly sits floating on pins. If the unit is upside down then it will fall out when removed.

Once opened this is what you are presented with,
The metal shielding is protecting the board and on the right hand side the laser assembly unit.
So the next step is to take off the metal shield.

So there are 5 screws need to come out
Top 2 (the one on the right has an earth strap attached which will come out easily but remember to put it back when putting the shield back on.
Middle 2 come out easily
The bottom 2 circles the one on the right is a screw and the one on the left is just a plastic pin that the shield sits on to position.

Once the screws are removed you are ready to remove the metal shield,
**Note** around the connector slot to the megadrive that the shields metal arms that indent you may need a screwdriver to lift these to get over the slot.

Once the shield is removed you will be presented with the board. There are 2 types the one we are covering has a top mounted fuse, The other type has a bottom mounted fuse which we will cover in another article.
So we have circled the fuse which is labelled f301 below

Before changing we are going to test it
Here we need to use the MultiMeter and set it to a continuity test. Attach/touch each of the fuse legs with one of the prongs from the multimeter. If the fuse is working, The multimeter will make a sound whilst the connections touch. If it doesn't make a sound then the fuse is dead.

This is a 1.5amp pico fuse, the legs will need to be bent into a similar shape to the fuse that shows in the unit.
Depending on you soldering skills you can heat up the old joints of the fuse and use a set of pliers to remove the old fuse. The new one just replaces in the same holes.

This is the finished result, This was the first time I have put the fuse in through the board holes so excuse the minimal soldering skills. In the past I have used the snips and cut the legs so it gave me something I could easily solder too, The end result looks rougher but it is easier than getting the old fuse out if like me soldering is a struggle.
Now we are ready to attach the metal shield. Start at the centre point over the slotted let it go into place, because of the indent legs you will need to press it down. The top right screw is the first one to do as you need to make sure you align the earth with between the plate and the board so the screw can pass through it and be fixed.
You can then fix the other 4 screws and we are now in position to put the top cover on.
A couple of things to check
1. Make sure the laser assembly is sitting on the legs and hasn't shifted.
2. make sure the open close button is in place properly on the top cover/case
Once checked put the cover on and turn upside down and fit the 6 screws to seal the unit once more.
Once done fit the megadrive and test the unit.
If you still Have no power light on the mega cd then the cartridge slot may well need cleaning
That should have your Sega Mega cd model 2 repaired and ready for use
Why not look at our Sega mega CD games that are in stock!


